To remove a temporary dental filling, follow these steps
- Clean the area around the temporary filling using a dental mirror, probe, and dental floss.
- Apply anesthetic gel or a tooth numbing agent to minimize discomfort during removal.
- Gently use a dental probe or explorer to loosen the edges of the temporary filling.
- Carefully use dental forceps or pliers to remove the filling, being gentle to avoid damaging the tooth.
- After removal, inspect the tooth to ensure it’s clean and free of debris.
- Depending on your situation, you can reapply a temporary filling if needed or consult your dentist for further instructions.
When Are Temporary Fillings Necessary?

Temporary fillings are necessary in various dental situations. First and foremost, following a root canal procedure, a temporary filling is placed to protect the treated tooth until a permanent filling or crown can be installed.
Moreover, when there’s a time gap between dental appointments, a temporary filling may be used to maintain tooth function and prevent further damage.
However, temporary fillings can be applied to alleviate pain or sensitivity caused by a cavity or damaged tooth until a permanent solution is provided.
Additionally, temporary fillings are used during more extensive dental procedures, allowing the dentist to work on different parts of the mouth over multiple visits.
When preparing for a dental crown, a temporary filling may be used to protect the tooth structure and provide comfort while the permanent crown is being fabricated.
Furthermore, temporary fillings are often employed in dental emergencies to address urgent issues and provide immediate relief.
Overall, temporary fillings serve as a protective barrier, maintain tooth functionality, and prevent further complications until a permanent dental solution can be implemented.
What Tools Do You Need for Successful Temporary Filling Removal?
Dental Mirror and Probe
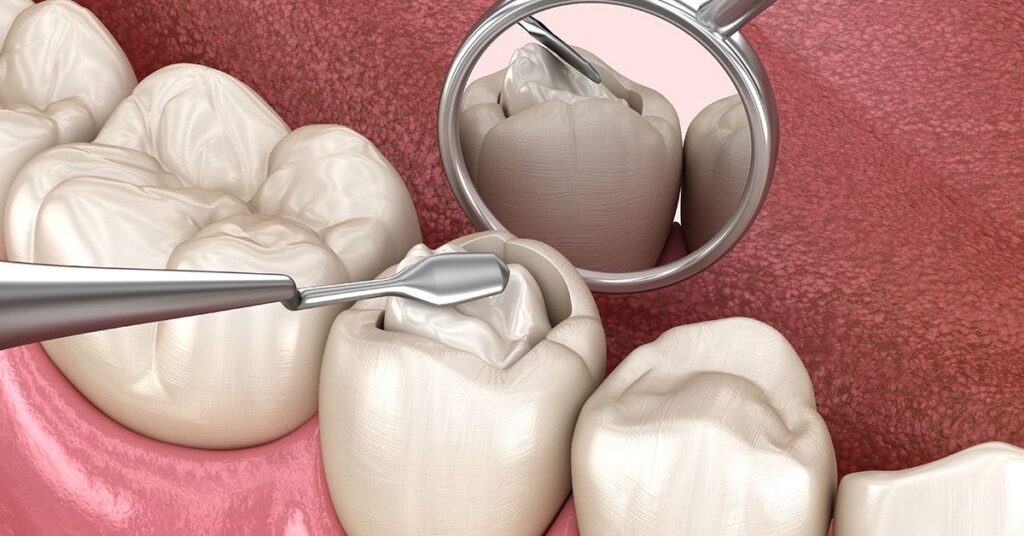
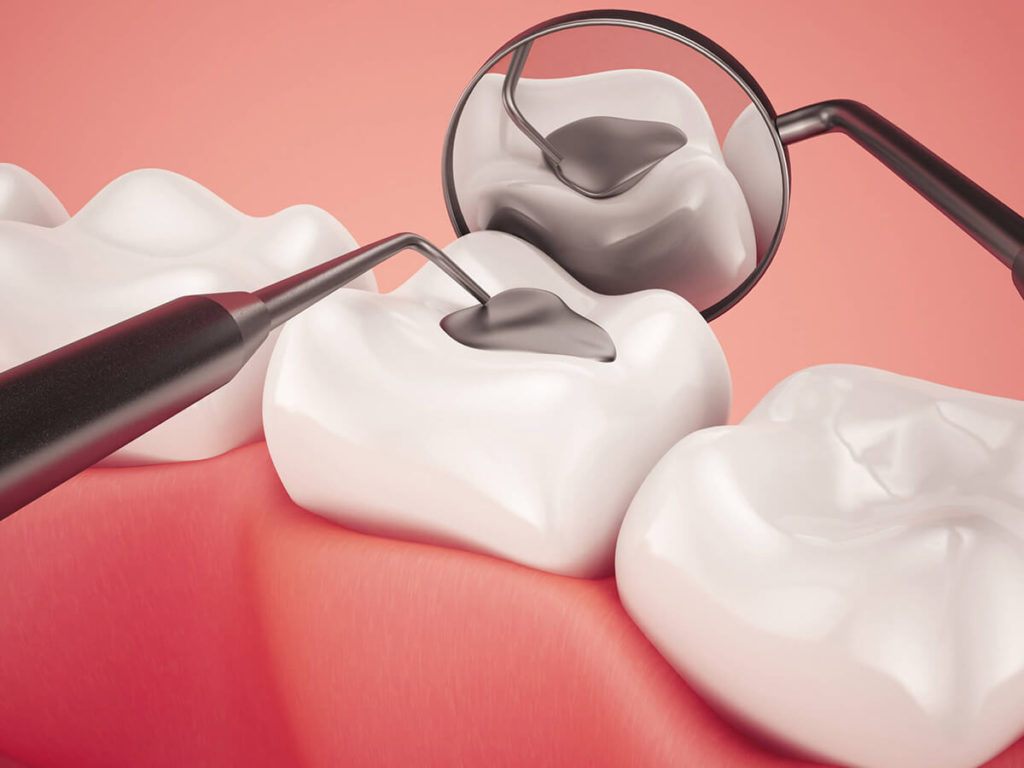
A dental mirror is a small, angled mirror that allows you to see the inside of your mouth more clearly. It’s essential for visualizing the temporary filling and assessing its condition. The dental probe is a thin, pointed instrument used to gently explore the edges of the filling.
Dental Explorer or Scaler
A dental explorer or scaler is a specialized tool designed to remove plaque and debris from teeth. In this context, it’s useful for gently loosening the edges of the temporary filling. Be gentle to avoid damaging the surrounding tooth structure.
Dental Tweezers
Dental tweezers with fine tips are essential for grasping and removing the softened filling. Ensure they are clean and sterile before use.
Dental Floss
Dental floss can aid in the softening and removal of the temporary filling. You can use it to carefully access and further loosen the edges of the filling.
Rubber Gloves
It’s crucial to wear rubber gloves to maintain a sterile environment and prevent the transfer of bacteria from your hands to the tooth. Make sure your hands are clean before putting on the gloves.
Dental Syringe
While not always necessary, a dental syringe can be useful for rinsing and cleaning the area after removal. Fill it with warm water or saline solution to ensure the tooth is thoroughly cleaned.
Saline Solution or Warm Water
Have either saline solution or warm water on hand to rinse the tooth and the surrounding area after the removal of the temporary filling. This step is essential to ensure that all the leftover filling material and any debris are effectively removed.
Anesthetic Gel (Optional)
If you anticipate discomfort or pain during the removal process, you can apply anesthetic gel to numb the area. This is an optional step but can enhance your comfort during the procedure.
Essential Safety Measures for Filling Removal
Ensure the workspace is well-lit: Proper lighting is crucial to see the tooth and filling clearly. If necessary, use a dental mirror to improve visibility.
Wash your hands: Thoroughly wash your hands with soap and warm water before starting the procedure. This helps ensure that you’re not introducing any harmful bacteria to the dental area.
Wear rubber gloves: Rubber gloves are essential to maintain a sterile environment and prevent contamination. Make sure the gloves fit well and do not have any holes.
Use anesthetic gel (optional): If you anticipate discomfort or pain during the removal process, applying anesthetic gel to numb the area can enhance your comfort. This is especially helpful if you have a low pain threshold.
How To Prepare The Workspace For Removing A Temporary Dental Filling?
To prepare the workspace for removing a temporary dental filling, follow these steps
Gather Your Tools
Before you begin, make sure you have all the necessary tools and materials ready, including a dental mirror, dental probe, dental tweezers, dental floss, rubber gloves, dental syringe, saline solution or warm water, and optionally, anesthetic gel.
Choose a Well-Lit Area
Situate yourself in a well-lit room, preferably with natural light. Good lighting is essential for visibility during the procedure.
Wear Rubber Gloves
Ensure you’re wearing clean and sterile rubber gloves to maintain a hygienic environment. This step is crucial to prevent the transfer of bacteria from your hands to the dental area.
Sit in front of a mirror
Position yourself in front of a mirror in a well-lit room. This setup allows you to see the tooth and the temporary filling clearly, which is crucial for performing the procedure effectively.
Organize your tools
Lay out all the necessary tools in an organized manner so that you can access them easily during the procedure. This minimizes the chances of fumbling for the right tool, ensuring a smooth removal process.
Ensure access to water or saline solution
Have a bowl of warm water or a saline solution ready on hand. After removing the temporary filling, you’ll need to rinse the tooth and the surrounding area to ensure it’s clean and free from any debris. This step is critical to maintaining oral hygiene.
How to Remove a Temporary Filling? Explained
Prepare the Area
Start by thoroughly cleaning the area around the temporary filling with a dental mirror, probe, and dental floss. This ensures that you have a clear view and access to the filling.
Numbing the Tooth
Apply anesthetic gel or a tooth numbing agent to the tooth and the surrounding area. This step is essential to minimize any discomfort or pain during the removal process.
Loosen the Filling
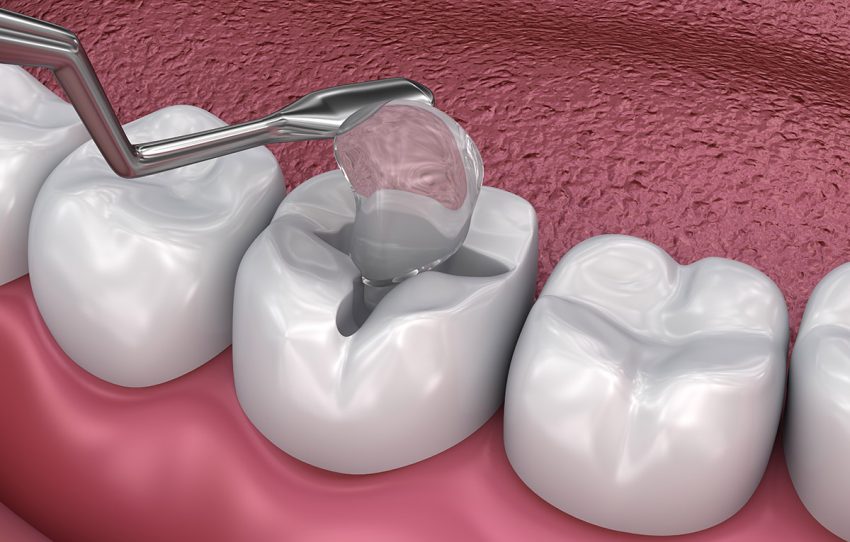
Gently use a dental probe or explorer to loosen the edges of the temporary filling. Be careful not to apply excessive force, as this can cause damage to the tooth.
Remove the Filling
Once the edges of the filling are loosened, carefully use dental forceps or pliers to grasp the filling and gently pull it out. It’s crucial to proceed with caution to avoid damaging the tooth or surrounding structures.
Inspect the Tooth
After the temporary filling is removed, inspect the tooth to ensure it’s clean and free of any debris, leftover filling material, or any signs of damage. You may need to use the dental mirror and probe for a closer examination.
Reapply or Consult Your Dentist
Depending on the reason for removing the temporary filling, you have two options. If it’s part of your treatment plan, you may need to reapply a temporary filling. However, if your dentist has recommended the removal or you’re transitioning to a permanent solution, it’s advisable to consult your dentist for further guidance and the next steps in your dental care.
In summary, following these steps will help you safely and effectively remove a temporary dental filling. However, it’s important to note that dental procedures should ideally be performed by a trained dental professional, so it’s recommended to consult with your dentist for personalized advice and assistance.
What to Expect During and After the Removal?
When removing a temporary dental filling, it’s important to know what to expect both during and after the procedure.
During the Removal
You may feel some pressure or mild discomfort during the removal process. However, if you’ve applied anesthetic gel or if the temporary filling is loose, this discomfort should be minimal.
There might be a faint scraping sound as the filling is being removed. This is normal and shouldn’t cause concern.
The removal process is usually quick, often taking only a few minutes, especially if the temporary filling is in good condition and not firmly attached.
The dentist or yourself, if doing it at home, will visually inspect the tooth and the removed filling to ensure it’s complete and that no fragments remain.
After the Removal
It’s normal to experience mild sensitivity in the treated tooth after the removal. This sensitivity usually subsides within a day or two.
After the filling is removed, the area should be rinsed with warm water or saline solution to remove any remaining filling material or debris. This step is essential for maintaining oral hygiene.
If the removal is part of a planned dental procedure (e.g., to prepare for a permanent filling, crown, or other restoration), you can expect the dentist to proceed with the next steps in your treatment plan.
If you’ve removed the filling at home and don’t have a follow-up dental appointment, continue to practice good oral hygiene. Use a soft toothbrush and avoid very hot or cold foods for a few days if you experience sensitivity.
If you experience discomfort after the removal, you can take over-the-counter pain relievers as directed by your dentist or follow any prescribed pain management recommendations.
However, If you encounter unexpected pain, bleeding, or persistent discomfort, consult a dental professional for further assessment and advice.
What Are The Common Mistakes To Avoid When Removing A Temporary Dental Filling?

When removing a temporary dental filling, it’s crucial to be aware of common mistakes to avoid to ensure a safe and successful procedure.
Using Excessive Force: Applying too much force during the removal process can damage the tooth or surrounding tissues. Be patient and gentle, allowing the filling to soften adequately before attempting removal.
Neglecting Proper Technique: Skipping essential steps or not following the correct technique can lead to complications. Ensure you have the necessary tools, follow the step-by-step guide, and use the appropriate instruments.
Leaving Residue: Failing to remove all the temporary filling material can result in future dental issues. Thoroughly inspect the tooth and surrounding area to ensure it’s free from any leftover material.
Rushing the Process: Haste can lead to mistakes. Take your time and proceed with care. Rushing can increase the risk of injury or incomplete removal.
Ignoring Safety Precautions: Neglecting safety precautions, such as wearing rubber gloves or sterilizing your tools, can introduce bacteria and contaminants into the dental area. Always maintain a sterile environment.
Neglecting Aftercare: After the removal, follow recommended aftercare instructions. Neglecting post-removal care can lead to complications, sensitivity, or infection.
Attempting DIY for Complex Cases: Some cases require the expertise of a dental professional. If you’re unsure, uncomfortable, or if the removal involves complex dental work, consult a dentist to avoid potential problems.
Overlooking Anesthetic Options: If you anticipate discomfort, consider using anesthetic gel or other pain management methods to ensure a more comfortable removal process.
Disregarding Professional Advice: If you experience unexpected pain, bleeding, or complications during or after the removal, seek professional advice promptly. Don’t hesitate to consult a dental professional for assessment and guidance.
Which Alternative Methods You Can Consider During The Removal Process?
If you encounter challenges or difficulties during the removal of a temporary dental filling, there are alternative methods to consider.
First of all, if you’re unsure or uncomfortable with removing the filling on your own, seek professional assistance from a dentist. Dental professionals have the expertise and specialized tools to safely and efficiently remove temporary fillings without causing harm.
Some dental products, such as temporary filling removal kits, are available over the counter. These kits typically contain materials and instructions for dissolving or softening the temporary filling, making it easier to remove. Follow the kit’s instructions carefully for a safe and effective removal process.
In some cases, you might consult a dentist via telehealth services for guidance. A dentist can assess your situation through video conferencing and provide instructions on how to proceed with the removal. They can also determine if you need an in-person visit.
Moreover, visit your local pharmacy or drugstore and consult with a pharmacist. They may be able to recommend specific dental products or provide guidance on over-the-counter solutions for temporary filling removal.
In some situations, home remedies like warm saltwater rinses or applying clove oil to the area can alleviate discomfort and assist with the removal process.
However, it’s essential to consult with a dental professional or pharmacist before using home remedies to ensure they are safe and appropriate for your specific case.
FAQ
How easy is it to remove a temporary filling?
Removing a temporary filling can vary in ease depending on factors like the filling material and the condition of the tooth. Typically, it is relatively manageable with the right tools and technique, but it may require patience and caution.
Does removing a temporary filling hurt?
Removing a temporary filling should not hurt significantly if done correctly. However, some mild discomfort or sensitivity can occur, and the application of anesthetic gel can help alleviate any pain.
How long should a temporary filling stay in?
The duration a temporary filling should stay in place varies, but it’s generally meant to be a short-term solution. It can last for several weeks to a few months, providing time for the tooth to heal or until a permanent restoration can be placed.
Is it OK to brush a temporary filling?
It is generally safe to brush a tooth with a temporary filling, but do so gently to avoid dislodging or damaging the filling. Use a soft toothbrush and be cautious around the filled area.
What is a home remedy for temporary filling?
Home remedies for temporary filling discomfort include rinsing with warm saltwater, applying clove oil for pain relief, or using over-the-counter dental cement for a temporary fix. However, consult with a dentist for guidance on the best approach.
How long will a temporary filling last after a root canal?
The longevity of a temporary filling after a root canal can vary based on factors such as the material used and the tooth’s condition. It may last for several months, but it’s essential to follow up with a permanent restoration as advised by your dentist.
How long until you can brush a filling?
You can generally brush a filling immediately after placement, but gentle brushing is recommended to avoid disturbing the filling. Regular brushing and good oral hygiene are essential for maintaining the filling’s integrity.
How long after a temporary filling can I drink?
You can drink shortly after a temporary filling, but it’s advisable to avoid extremely hot or cold beverages, as they may cause sensitivity. Maintaining proper oral hygiene is important.
Can you chew food with a temporary filling?
You can chew food with a temporary filling, but it’s best to avoid very hard or sticky foods that might put excessive pressure on the filled tooth. Use the opposite side of your mouth when possible.
How strong is a temporary filling?
The strength of a temporary filling depends on the material used and the quality of the placement. While not as durable as a permanent filling, it can provide adequate protection and functionality for the short term.
Final words
On the whole, knowing how to remove a temporary filling is a valuable skill for anyone dealing with dental issues. It can help you stay on top of your oral health and prevent complications. Remember to be patient, use the right tools, and follow the proper technique.
After removal, expect some mild sensitivity, which should fade quickly. Keep the area clean and consider further dental work if needed. If you ever feel uncertain or experience unexpected discomfort, don’t hesitate to consult a dental professional.
By being prepared and informed, you can ensure a safe and successful temporary filling removal, paving the way for a healthier, happier smile.

