If you rely on an outside oil tank to heat your home or fuel your machinery, you likely understand the importance of regular maintenance. One crucial aspect of this maintenance is cleaning the filter on your oil tank. A clean filter ensures that your oil is free of impurities and flows smoothly into your heating system or equipment. In this guide, we’ll walk you through the steps to clean a filter on an outside oil tank, helping you maintain the efficiency and longevity of your system.
Why Cleaning the Oil Tank Filter Matters

Before we dive into the cleaning process, it’s essential to understand why cleaning the oil tank filter is crucial. The filter’s primary function is to prevent debris, sediment, and contaminants from entering your oil system. Over time, these impurities can accumulate, leading to decreased system efficiency, potential damage, and even breakdowns. Regular filter maintenance ensures that your oil supply remains clean and your equipment operates at its best.
Tools and Materials You’ll Need
Before you begin, gather the following tools and materials:
Tools:
- Adjustable wrench
- Screwdriver
- Safety gloves
- Safety goggles
Materials:
- Replacement filter (if necessary)
- Container for collecting waste oil
- Rags or paper towels
- Cleaning solvent or diesel fuel
Step-by-Step Guide to Cleaning the Oil Tank Filter
Now, let’s walk through the process of cleaning the filter on your outside oil tank:
1. Turn Off the Oil Supply
Safety is paramount. Before you start, turn off the oil supply to prevent any accidental spills or leaks.
2. Locate the Filter
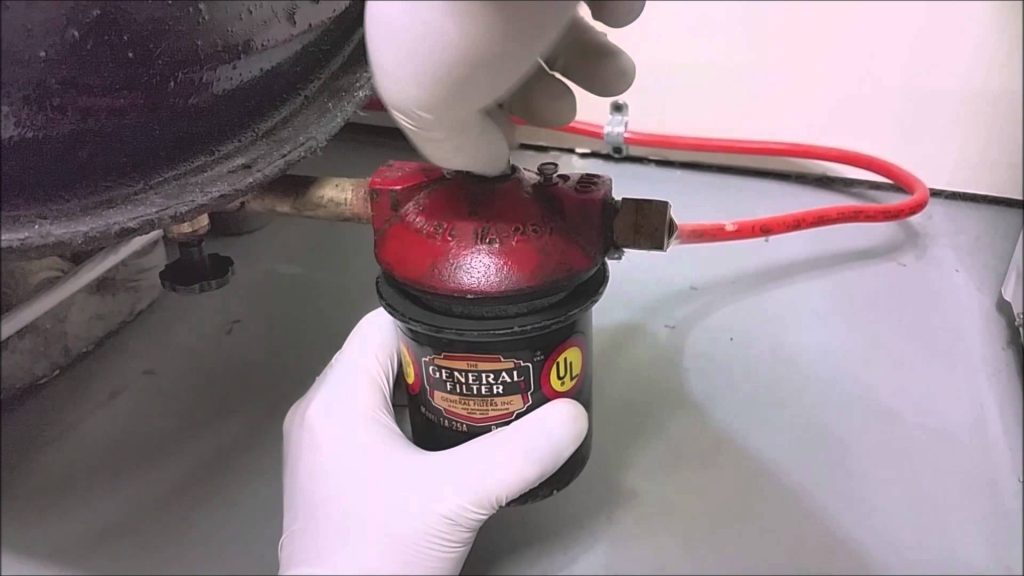
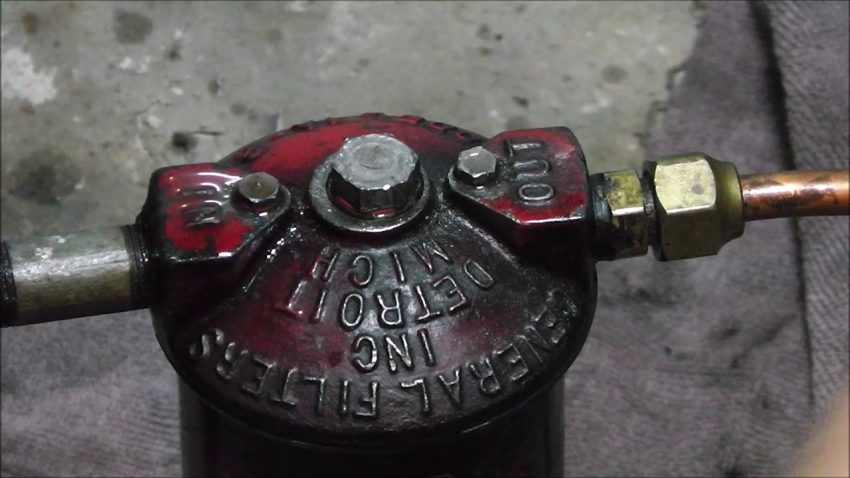
Find the filter on your outside oil tank. It is typically housed within a canister or housing, often near the tank’s outlet. Use a wrench or pliers to remove the cover.
3. Prepare for Oil Drips
Place buckets or containers beneath the filter housing to catch any oil that may spill during the process. It’s also a good idea to lay down some absorbent materials to keep the area clean.
4. Remove the Old Filter
Carefully remove the old filter from the housing. Be prepared for oil to drip from the filter as you remove it.
5. Inspect the Old Filter
Take a close look at the old filter. If it’s severely clogged or damaged, it’s best to replace it with a new one. Otherwise, you can clean it.
6. Clean or Replace the Filter
If you’ve decided to clean the filter, use a clean rag or paper towels to wipe away dirt, sediment, and debris. Ensure it’s completely clean before reinserting it into the housing. If you’re replacing the filter, insert the new one, making sure it fits snugly.
7. Secure the Filter Housing
Carefully secure the filter housing cover back in place, ensuring it’s tightened securely but not over-tightened to avoid damaging the threads.
8. Turn On the Oil Supply
Finally, turn the oil supply back on, and check for any leaks around the filter housing. If everything looks good, you’ve successfully cleaned or replaced your oil tank filter.
Regular Maintenance is Key
Cleaning the filter on your outside oil tank is a crucial part of maintaining a reliable and efficient heating or fuel system. Make it a part of your regular maintenance routine to ensure your equipment operates smoothly and efficiently. By following these steps, you can extend the life of your system and enjoy worry-free heating or equipment operation for years to come.

